August's contribution is a completely one-of-a-kind quilt that I started working on during Christmas 2012. I had seen this calendar at Hobby Lobby on clearance for 2013 with different cupcakes. Whitney stole my calendar, but the idea for a cupcake applique remained with me. It took me several attempts to get my two contrasting pieces of the cupcake shape to fit together into a nice shape. I made a dozen different appliques, and then decided to use most of them into a quilt.
The material for the quilt top is completely repurposed from other projects. I purchased the blue floral contrast for the front piece and the Flower Power print for the back piece to tie this together.
Total Cost: $8
Total Hours: 16
Showing posts with label refashion. Show all posts
Sunday, August 4, 2013
Linus Project - July contribution
July's contribution is a Shabby Chic Americana made with recycled colored denim and soft floral prints. All the fabric I purchased at the Goodwill Blue Hanger store, most of which had stains or tears that would put most of these clothing items trashable. I originally saw the idea on Pinterest. I changed the inspiration directions by: using colored denim and by leaving a slight edge when I sewed down the denim on the front so that the denim would ravel a lil' bit.
Total Cost: $11.50
Total Hours: 20
Total Cost: $11.50
Total Hours: 20
Linus Project - April, May and June contributions
I can scarce believe I have let months go by without blogging about my Linus Project contributions. Lots of personal issues have kept me fairly busy, but I have managed to keep up with completing each month's blanket on time....just not the blogging portion.
So, here are April, May and June's contributions.
April's is completely recycled. The fabric is left-over from other projects. The top is a lime green floral pattern with large flowers and squiggly vines in pink, orange and yellow. The back is a soft yellow thin fleece.

Total Cost: $0
Total Hours: 3
June's contribution took a while to complete. My mom is always on the lookout for crafting materials for me, and somewhere, she had found a small collection of blues / greys / greens that I have had for a while and not sure what to do with them. The other colors were left-overs from a Shabby Chic project a couple years ago. I started making granny squares that eventually morphed into June's crocheted contribution. The only thing I had to purchase were two skeins of black yarn to tie this blanket together. This ended up being the largest blanket in my donations because I just kept adding squares. My daughters keep trying to steal it. At Whitney's insistence, I kept the decorative yellow
lacey edging.
Total Cost: $6
Total Hours: 30
So, here are April, May and June's contributions.
Total Cost: $0
Total Hours: 3
Total Hours: 3
May's contribution is another completely recycled blanket. the top piece is a thin plaid fleece that I salvaged from being thrown out.. I cut off the frayed and dirty edges and was able to save a piece large enough for a kid sized blanket. The back piece is a black cotton left over from another project.
Total Hours: 3
lacey edging.
Total Cost: $6
Total Hours: 30
Labels:
April,
blanket,
charity,
contribution,
crochet,
economy,
June,
Linus Project,
May,
refashion,
repurpose
Saturday, May 18, 2013
Refashioning a Home
26 years ago, I was married as a young woman. Over the course of these years, I have lived in 6 places and redecorated my home several times. With three daughters who are now 14 - 20, the redecorating has included several bedroom makeovers.
My newest interest for home decor is Shabby Chic. As the reality of my daughters leaving the nest in the next few years materializes, I will for the first time in my life be living alone. As of now, I want everything to be Shabby Chic. I have already started sketching some ideas for the kitchen and have been re-doing my bedroom and bath for the last year.
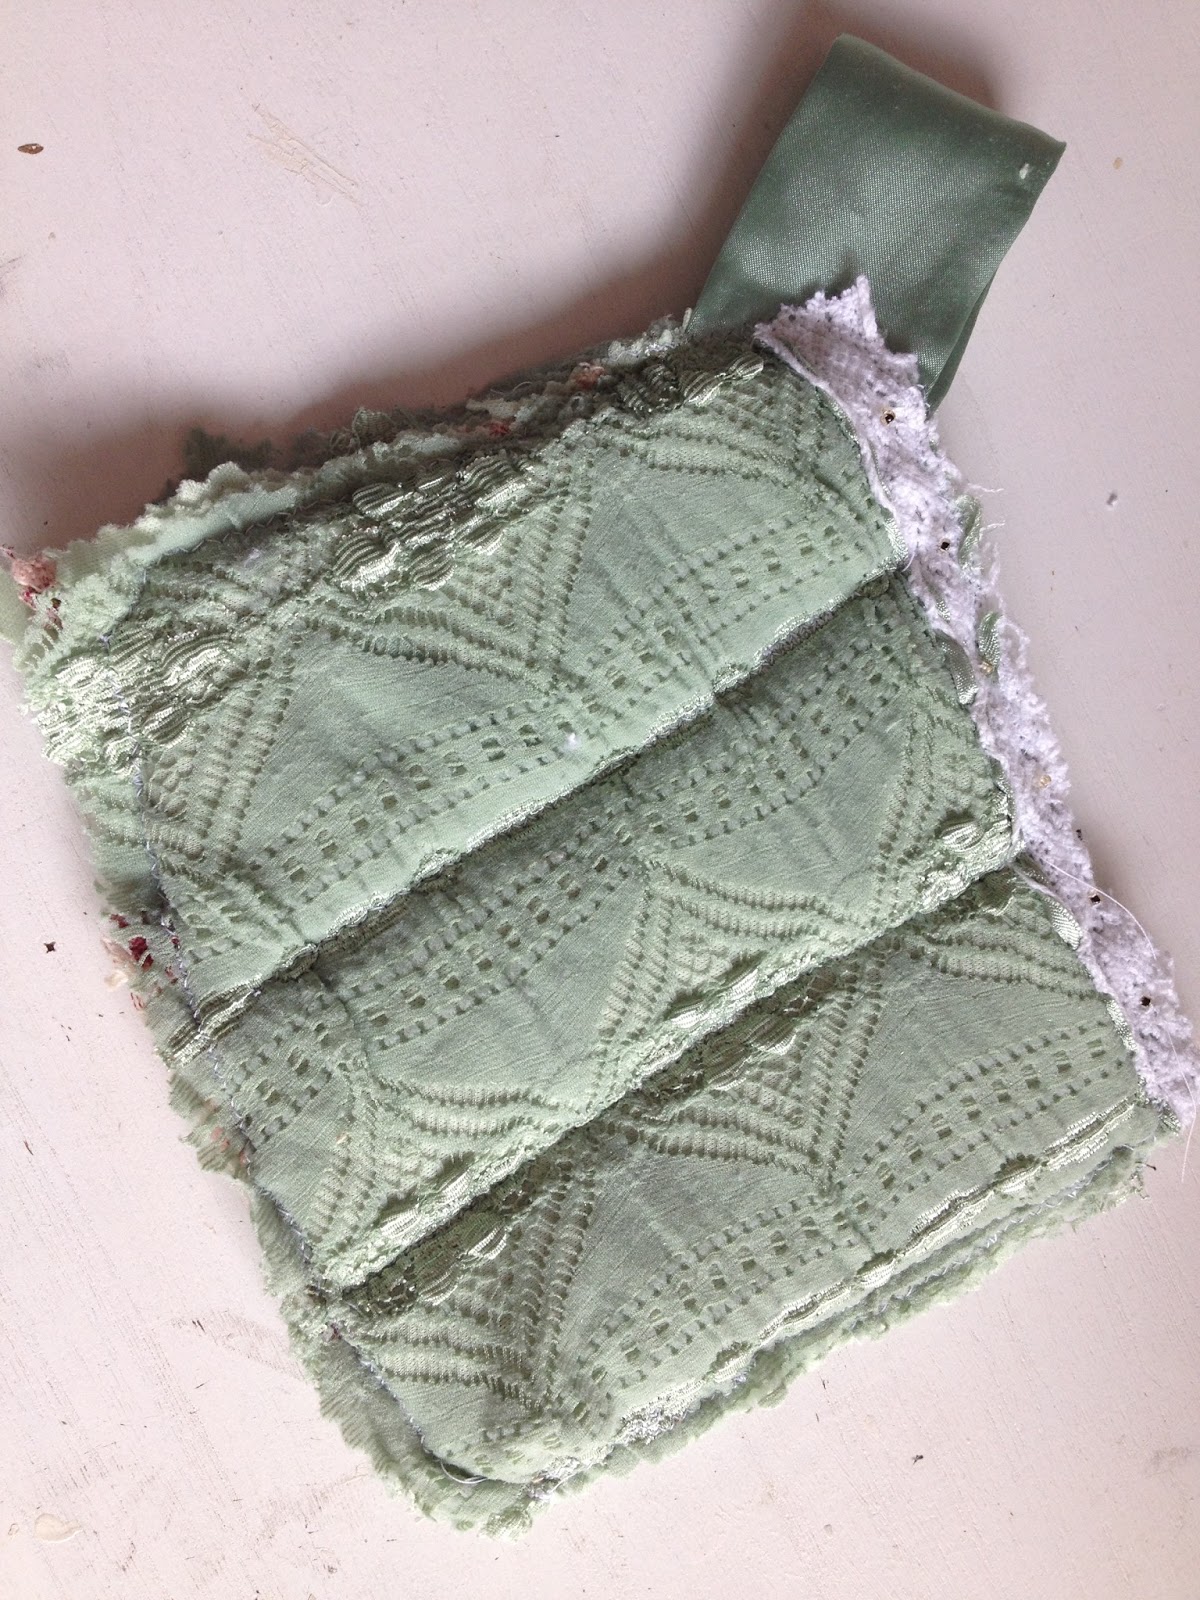
Today, I refashioned a pot holder, and the uniqueness of this project is that the original pot holder was a wedding gift all those years ago. The crochet picture is the original wedding gift. The checkered pot holder was a recovering 10 years ago.
The green lacey one at the bottom is the current refashion.
Saturday, January 19, 2013
Re-fashioning
I am addicted to re-fashioning................it is such a fun way to spend my spare time lately. I think what draws me to this is the utilitarianist ideal: take something not being used for its intended purpose and making it into something else.
My Linus Project year long contribution project uses only repurposed materials. It was just an idea, but one that I am pretty excited about so far.
Wednesday, January 4, 2012
Project Promotion - Ellie's cute Menu Idea
I actually found this post as I was trolling, and Ellie had been promoted by another blog I follow. Called "blog trade-off" Holly promotes another blogger she likes. In a way, I guess I am trading off both these very special bloggers. I am so glad to have found this, so I am posting an idea I hope to try.
Saturday, November 12, 2011
In case you missed it
In case you missed my 10min. Fridge Board, go check it out. its a VERY easy project that I promise will revolutionize (ok may that's a little extreme) your kitchen. Maybe it just makes your fridge look a little less...BLEH. I'm just IN LOVE with our's and it makes me WANT to menu plan for the week.
Today, I had 3 free minutes...yeah that's pretty much it, and decided to add a little pizzazz.
andVoila...
nothing a little rosette and feather won't fix...
Posted by Ellie at 11:14 AM
Today, I had 3 free minutes...yeah that's pretty much it, and decided to add a little pizzazz.
andVoila...
nothing a little rosette and feather won't fix...
Sunday, January 1, 2012
Aprons - NYE Retro
I had to pause my "re-viewing" of Grey's Anatomy to begin my APRON posting. I have loved aprons most of my life.........I know, I know........I can hear the feminists now screaming how aprons are a symbol of submissiveness or maybe even repression. All political debates aside, the apron is truly an essential. In the beginning of my early adult life, aprons had moved from decorative pieces to a basic white. If you walk into some kitchen stores today, the basic white maybe the only apron you find. Of course, there are those "manly man" aprons, you know "Kiss the Cook" and "BBQ King" kinds of aprons.
I decided a few months ago I wanted some retro I Love Lucy types of aprons to wear with my heels and pearls!! LOL
My true inspiration came when I found a current pattern for vintage aprons at a Goodwill store for only $0.59. I bought it and have wanted to begin work on a collection of decorative kitchen aprons. Then, I stumbled on a slightly worn apron at a garage sale for a quarter that only needed a little mending and a good washing. It soon became my pride and joy.
I have since made 2 aprons from re-purposing other items: one was a child's size 6 sundress and the other a junior's halter top in a fashionable black/white print. I actually wear an apron anytime I am in the kitchen cooking.
Today's project is the re-purposing of three items into aprons. I have used the excess fabric from the original pieces for other projects.
My true inspiration came when I found a current pattern for vintage aprons at a Goodwill store for only $0.59. I bought it and have wanted to begin work on a collection of decorative kitchen aprons. Then, I stumbled on a slightly worn apron at a garage sale for a quarter that only needed a little mending and a good washing. It soon became my pride and joy.
I have since made 2 aprons from re-purposing other items: one was a child's size 6 sundress and the other a junior's halter top in a fashionable black/white print. I actually wear an apron anytime I am in the kitchen cooking.
Thursday, December 1, 2011
The cutest ballet slippers Sewing Project

TUTORIAL
Here you go! The instructions to make your very own collection of custom ballet flats. Any problems with the instructions or pattern send me a message. I'll try and fix it!
1. Cut out two soles out of a medium weight leather (or pleather, which ever you choose) And two tops of the shoes out of a heavy cotton canvas (CUT ON THE FOLD), or whatever you want (If it's too lightweight, put some heavy interfacing on it. Any way you look at it, make sure it's sturdy.) **You may need to adjust the pattern for your feet. I'm about a 7, but one foots bigger then the other, so I had to figure that out. Just play around with scraps for the first pair, then make the real shoes once you’ve figured out the right size, and shape for your foot.**
2. Match up, right sides together (meaning, which ever side of the leather is going to have contact with the floor, and which ever side of the fabric you want on the outside, match those together) And pin in the direct middle of the toes.
3. Sew down one side of the shoe, making sure to curve in the heel of the fabric slightly. Then flip over and repeat on the other side. At this point, your shoe should be inside out, with the back heal open. Sew up the fabric at the heel, so you have an inside out shoe. Flip right side out.
4. Repeat with other shoe.
5. Finish off raw edge (on the top/inside of shoe) with binding or piping, or anything you want (piping is the easiest, I believe) The inside seems of the shoe don’t necessarily have to be finished, but if you want to, go ahead!
6. Any questions, send me a message, I’ll try and help as much as I can.
7. If the instructions aren’t clear I’ll post them again with pics. Just let me know!
<33 Hope it all makes sense!
Heres the pattern:
I had to make it realllyyy small, so before you print it out, put it in your Paint Shop Pro, or what not and resize it to 8 1/2 by 11" And then print it. (If its still too small, work off of the pattern i gave you and make a bigger one for your feet.) And sorry about how sloppy it is. hehe, im not too good with the scanner
Subscribe to:
Posts (Atom)